Advertlets!

Showing posts with label tutorials. Show all posts

Monday, November 29, 2010

purple eyemake-tutorial!

哈咯,大家好!我回来了。
这次也是眼妆教学- 紫色眼妆!
我采用这个颜色因为它很温和,很适合这一季!
我们开始吧!

halo! I am back after nearly a month!
Sorry I was busy for the pass weeks so thats why! Sorry!
This time will be a eyemake tutorial once again - its a purple eyemake tutorial!
I chose this color bacause its really warm and soothing colour and i think it kinda suits the season.

LET'S GET STARTED!


Put on concealer and BB cream or foundation as base.
fill brows if desire.
擦上concealer和BBcream 或foundation。
填上眼眉,若要。
use a cream shadow base and apply on crease.
then use purple shadow to apply on half your lids.use a blue shadow to blend with purple shadow with a blending brush.
用膏状的眼妆底涂在整个眼窝。
然后,用紫色的shadow擦在半个眼窝(从眼头到眼中)
再用蓝色的shadow擦在紫色的shadow上然后就可以开始把颜色匀开!
then follow up with a pink shadow to blend at the end of your eye. blend it inwards!
Then use a dash of gold shadow to dab on the beginning of your eyes.
line your eyes with a liquid liner and then line your 3/4 of your bottom lash line with a purple eyeshadow. then apply on a layer of mascara the volumizing ones!
用粉红眼影将它在眼尾匀开。
再用金色的眼影涂在眼前-眼中。然后,用liquidliner 画眼线。下眼线,用紫色眼影画3/4的眼线。然后,卷你的眼睫毛再擦上一层mascara就行了!

for cheeks:
use cheek tint and dab on apples of cheeks.
面颊色调涂在苹果肌上。

For lips:
use lip concealer to conceal lips and then put on a layer of cheek tint/lip tint then put on a thin layer of lip gloss.

Product use:
Skin Aqua silky BB cream
laneige concealer
maquillage cream shadow base
maquillage duo purple and gold 
M.A.C  devoted poppy  in  fall deeply
etude house oh my eyeline
maybelline magnum volume express super film
benefit pop tint
in2it lip stick in tawny
benefit vip liggloss in bubblegum.

* picture not clear due to camera and lighting.
all taken with C510.

do comment!
thank you!
bye bye.
bubbly.

Thursday, November 4, 2010

red lips tutorial.

hello!
I 'm back with a tutorial!
RED LIPS TUTORIAL!
If there is anything you don't understand just please drop a comment below or send me an email.


bye bye.
bubbly.

Tuesday, November 2, 2010

Latest Updates :)

Hello!
I am still editing the video on nude lips tutorial.
*will be up soon!
So, after that I will also upload video on Maquilage  Iconiq  rouge cheat one look.
Besides that, I will also upload a video on  red lips tutorial too.
So, please stay tune.
I have been trying out alot of looks lately but will also keep you guys updated on my nerdy.school.life.


LOOKS:


Red Lips.

Iconiq Maquillage Rouge cheat one.

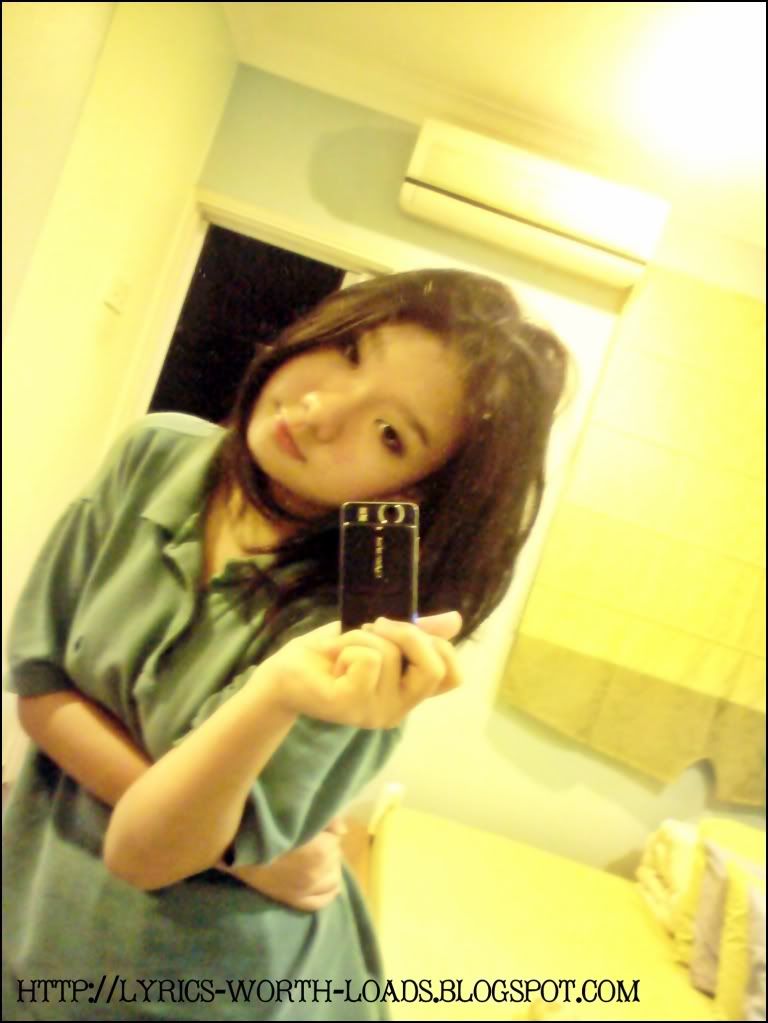
Some people might wonder why my red lip look i wearing like my pj's.
I tell you why!
I feel super comfortable in it and I wear big tee's at home all the time! If don't believe ask my twin Jessie!

live.love.laugh.life
bubbly.

Thursday, October 7, 2010

ATTENTION+Maquillage rouge Iconiq cheat one.

Hey Peeps!
I know i have been keeping you guys waiting for a long while. Sorry! I don't mean it because I have exams going on! I still do have but.... only ONE more day to go! 2 subjects , 3 papers. Wish me luck people! I have already got luck for most of my papers so please give me for the remaining ones!

Okay lets go back to the main point as said as the title.
Okay, from what my stats shows and comment page shows as well that I have readers or viewers from Taiwan , China , and Hong Kong! I also got email requests to put chinese or mandarin on my page for their sake so I shall do it then!
From NOW ON, my tutorials and product reviews will be in dual language which means it will be in mandarin and english.

MAQUILLAGE ROUGE ICONIQ CHEAT ONE.

So, as I was mentioning in the previous post. I was suppose to do tutorials on a one sock hair bun, small face emergency , 5 minutes face prep+ makeup  and more but now I guess I shall put that on hold 1st. 

In this cheat one , I won't be really using Maquillage rouge range since I don't have the full range. So, i will be using the same color range but not the actual product (Maquillage).

Besides, I will be also putting up a review in this cheat one which is the Loreal Renewal Lash Serum as well so stay tune.

Below will be the look that I will be cheating on.
the 1 on the left which says before is the original.
the 1 on the right which says after is edited.

Okay, this is the poloroid and edited ver.

But looks a lil' different as I edited the lighting but of course I will use the original as reference.

ITS SIMPLE!

So see you guys next post real fast okay?
Stay tuned!

Bye bye.
Bubbly.


Tuesday, August 31, 2010

Acne & oily prone skin daily and weekly regime.

Hello :)
Its time for some acne &oily prone skin regime time!
This just how I take care of my face daily and weekly. It did really show vast improvement! So do try it out  if desire!

Instrument:
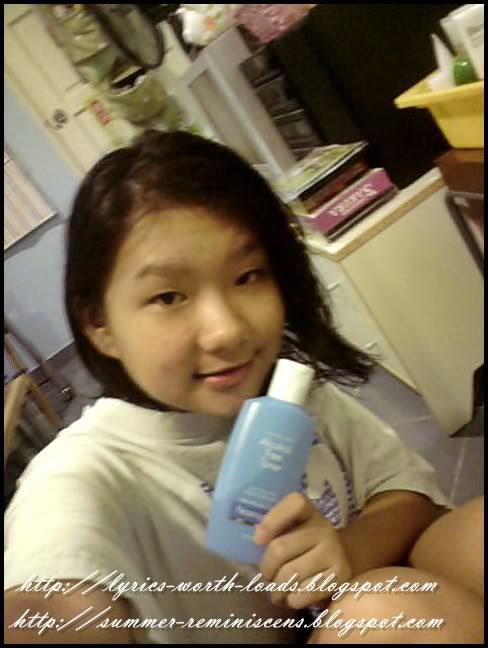
Facial wash- acne and oily skin care
Face scrub
Alcohol free toner
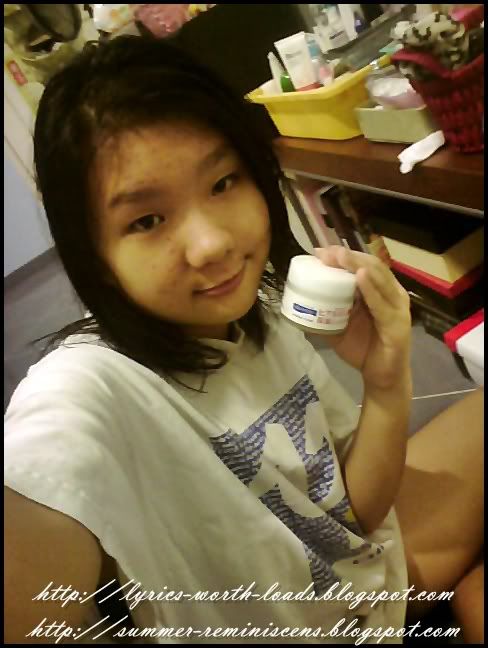
acne - free / hayaluronic acid moisturizer
rice/ aloe mask- wash off or peel off
*tea tree oil 
*whitening cream

(*) optional

Let's get started!

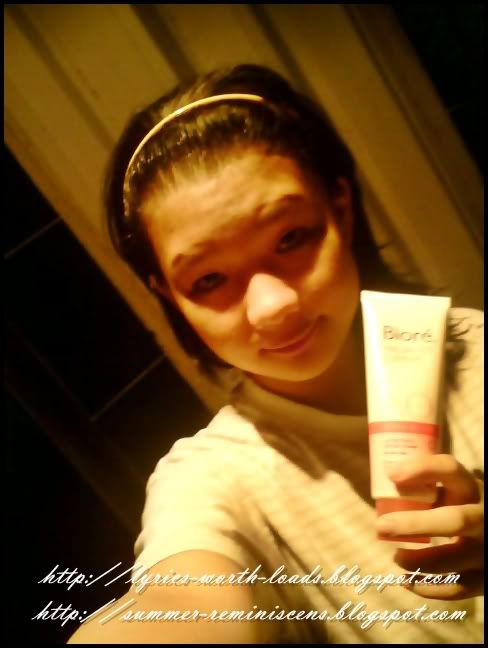
Wash face with acne& oil care face wash.
*using Biore's facial fit expert acne& oil care


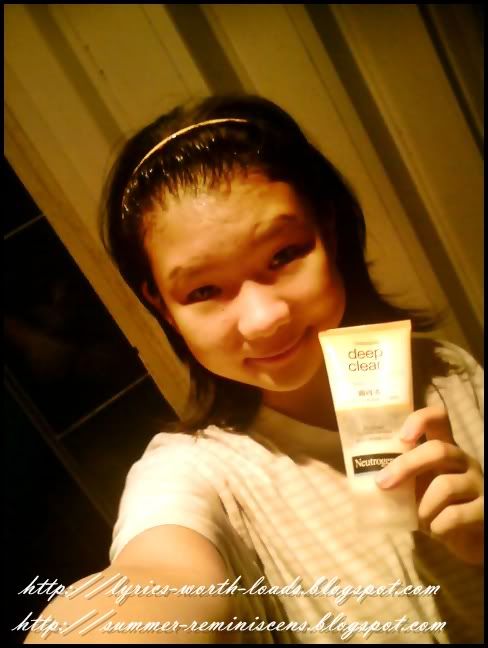
Scrub face with facial scrub
*using neutrogena deep clean facial scrub


Tone face with alcohol free toner.* wipe it pulling upwards!
*using neutrogena's alcohol free toner


put on a thin layer of moisturizer.
*using aquajuju (aquamoist) hayaluronic acid moisturizer.

* put on a bit of whitening cream to help recover scares and lighten up eye circles.


Weekly *optional

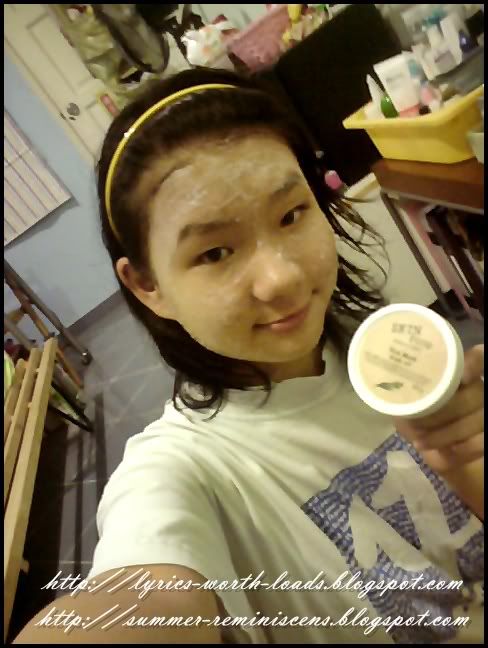
put on a rice/ aloe mask.- wash off kind.
*skin food rice mask

Then you are done! but remember if you put on mask already put back a layer of toner and moisturizer to cover back pores!
*drink honey or water in the morning to prevent dehyration!


Natural brown- tutorial

*please click on the available nuffnang ads. Thanks. :)

Hello! :)
Remember I said I 'll out up a tutorial on the look i used for my ribbon-look august post?
Nah, So here it is.

Items involved:

BB cream/ concealer
Crystal snow Foundation
Brown eyeshadow palette
white highlights
skin color- one color eyeshadow
black and brown eye liner
grey/ black eyeshadow
lengthening and volumizing mascara
peachy keen blusher
brown / nude lipstick
sparkly nudy lip gloss

Let's get started!

Star with a clean face. Prime your face with BB cream/ concealer and foundation.*powder/liquid


Put on a 1color eyesshadow first. Then use a brush to put a thin layer of dark brown on your lid.
Then, use a blending brush to put on a 2nd darker shade of brown above the 1st layer.*blend
Follow up with the lightest brown and roll it inwards.
Then brush a light layer of white on the brow bone to make it looks a little more natural.


Line your eye line with pencil liner 1st , then put on a thin layer of brown and black eye shadow to soften the harsh linings. 
Curl your lashes.
Coat on a layer of lengthening mascara 1st. Follow up with a volumizing mascara to create a false lashes look.*curl it once more if needed.


Dab on a thin layer of peachy keen blusher on the apples of your cheeks.
Put on a coat of lip balm , then the lip color follow up with the gloss.
*spray on a layer of face mist to set the look to make it look more natural and longer lasting.

*i know the picture can't really be seen. will try to upload a better 1 soon.

TADA! It's just so simple! This look can be worn for dinners, luches with friends or whatsoever event will just be fine! So do try it out!

BYE!

* all pictures taken by my sony cybershot C510.
*hair - simple wavy curls.

Sunday, August 29, 2010

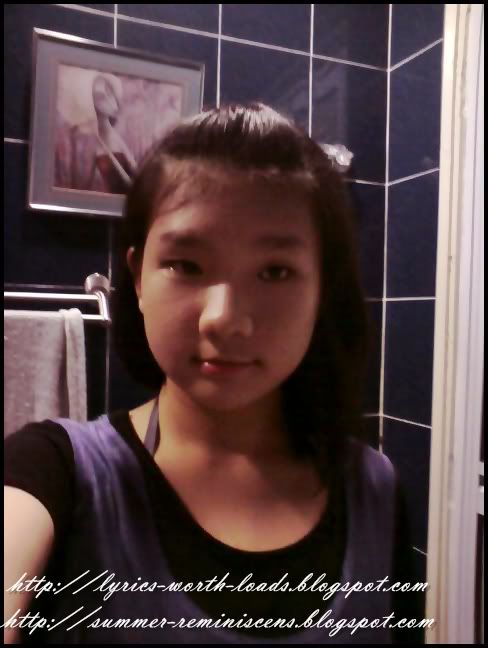
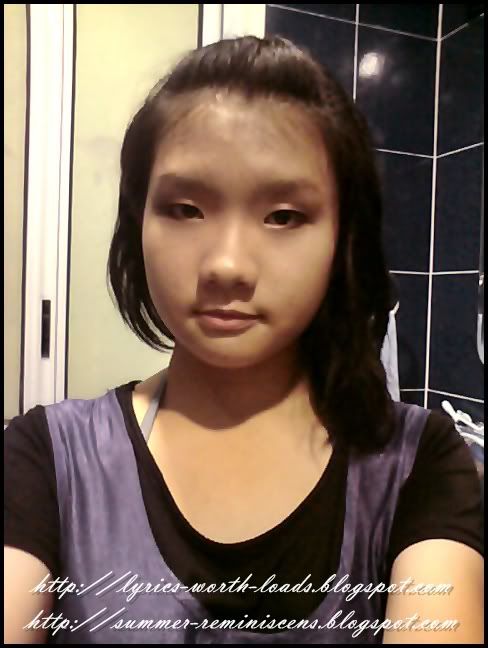
simple wavy curls- in just 5 minutes.

*pls click on available nuffnang ads.Thanks

hello!
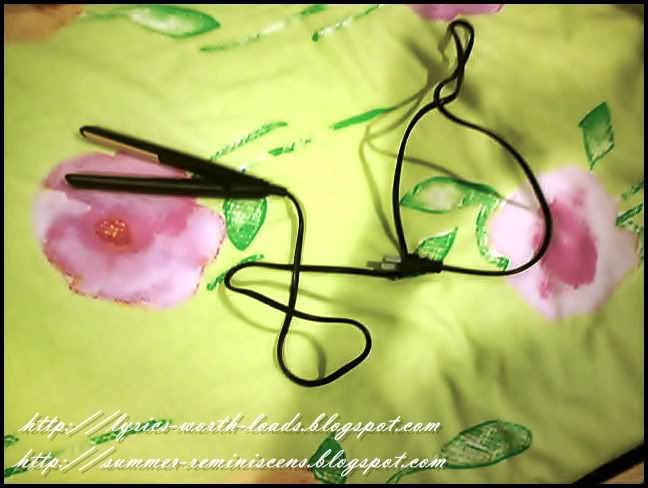
This will be a hair tutorial on simple wavy curls in 5 minutes by using a 18cm long hair straightener!
I mean 18 cm! Normally hair straighteners and curlers are longer than 20 cm for easy gripping but 1 thing its not easy to keep and bring along with you!
But if its 18cm then its easy!
I bought it from headcoverz shop at bangsar. It only cost RM39.90 and its super powerful! So go get 1 now!

Things you require:


hair straightener
comb
hair serum
heat protector
hair tie- snag less

There's only 5 items that you need so its easy.

LET'S BEGIN!

tada! 18cm hair straightener!


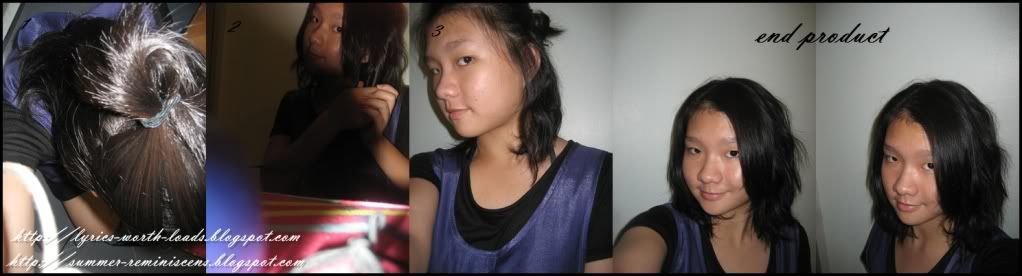
Step 1:

apply on hair serum and spray on heat protector all over hair.
*blow dry hair with hair dryer if needed

Step 2:

split hair into sections like picture 1 above. Then grip on hair straightener turn 180 degrees and slide out.
*vertically / horizontally also possible
* i personally prefer vertically as is easier to handle.
then repeat steps .

Step 3 :
spray on hair styling mist to set hair style and then you are way to go!
*add on hair accessories if desire!

*try this out, really works! do comment!

Sunday, May 2, 2010

Japanese neutral look + messy bun.

Hello!
Its a post on a short tutorials.
Its so called japanese neutral look but i highly doubt it but who cares its just a title.
This is how it looks like:
This is what it looks like.
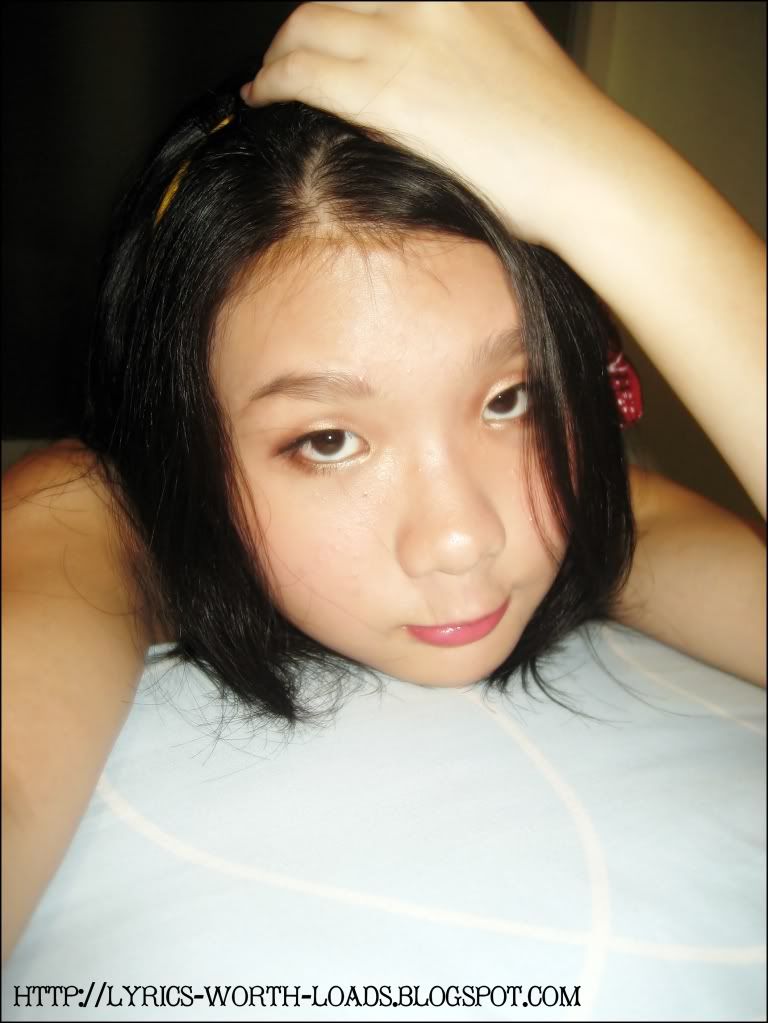
Pimples are obvious but what can i do?
Low lighting so bare it.

Instruments:
foundation
BB cream / concealer
Peachy keen blusher
shimmering light pink gloss
skin color/ brownish-gold eye shadow
black eyeliner /liquid/pencil/gel
black mascara

Steps:
Conceal all the pimples or scars with concealer or bb cream with concealer brush.
Apply foundation, adequate amount with foundation brush with padding motion or with fingers by dabbing motion.
Put on some one color /brownish-gold eye shadow to enhance eye with a brush or fingers.Push it inwards  and move it to the brow bone to make it look natural to suit the skin tone.
use eyeliner to define eye.Do not have a cat eyeline as you want it to look as natural as possible.Make it to a certain extend which looks natural to you.
Then curl your lashes with a lash curler and then put on a base coat if needed if you think your lashes will not last long being curled then put on a mascara which can make your lash longer and thicker as if you put on fake lashes. Bottom lashes do not make it to thick so put on 1 thin layer of mascara with the thickening effect mascara as I am using Estee's magnascopic mascara. Curl your lashes with a normal curler after applying mascara but recommended to use an electrical one as it would not cause your lashes to have a line in between.
After that, its time to add colours on your lips. Apply a coat of lip balm which i am using lip pure by Mentholatum and then apply on a shimmery light pink gloss vertically strokes down as it will make your lips look puffer and fuller and kissable too. haha i am lame but it does work! Then finish your look by brushing off excess powder and shimmering powder that was left behind by the eyeshadow with a big blush brush or a kabuki brush.

*define brow if desire, make sure brow well trimmed.

Then you are done!

Hair - Messy bun

Instruments:
Bobby pins
hair tie
Accessories-Optional.

Steps:
tie your hair up with a hair tie. preferably a high one so it looks nicer not like an auntie!That's just my opinion.
Then twist your pony tail and then curl up into a ball then pin the first bobby pin at the end and then follow up with the other pins so it stays secure. Put an accessory if desire or to make it more secure put a nice scrunchy on it as and accessory.

The hair and the look:


* this tutorial is just for fun so please do not get offended. I am just sharing how the way i do my make-up.
*If, want to have a dolly look please proceed to http://myau-club.blogspot.com/ and view her posts.

So, do visit and i am still in the process of learning so it looks horrible but this is what you get from a beginner. Do visit myau-club for better looks and mag reviews.
Related Posts Plugin for WordPress, Blogger...